An (almost) free guide for printable keyboard stickers
Posted on Sun 04 December 2022 in Other
بِسْمِ ٱللَّٰهِ ٱلرَّحْمَٰنِ ٱلرَّحِيمِ
I recently wished to experiment with an alternate keyboard layout, as I found the existing qwerty layout to not be suitable for my aging hands. I decided I would use an existing keyboard and simply switch the layout to see which alternatives work. Furthermore, I settled on Dvorak as my first choice.
Having your existing keys say X (qwerty) whilst your new layout says Y (a printed page of the Dvorak lay out) is highly confusing. It was also at this time that I discovered that simply searching for a new keyboard layout to print at home does not really exist on the internet (the vast majority of results were for purchasable stickers only).
Hence, this quick guide below is to demonstrate how to make your own (mostly cheap) custom keyboard keys with very little extra tooling.
What you need
- existing keyboard
- a printer
- a scissor
- a fat marker (or similar device to press down the stickers) - optional
- adhesive (like glue or Bostik)
Method
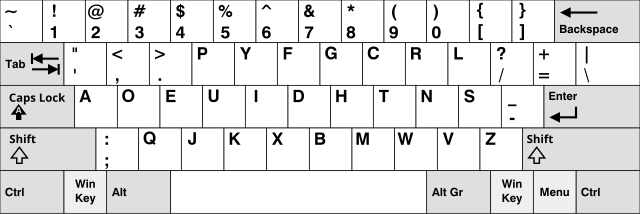
Go to Wikipedia and search for your desired layout. The astute reader will probably pick up that it doesn't matter which layout you print, but I found that having your preferred layout printed helps as a template when sticking the new keys onto the keyboard.
A direct link to the Dvorak lay out
Save the image and then proceed to print it. Make sure to orient the image in portrait mode, as the layout for landscape mode well result in stickers that are too big.
After printing, cut out each row and prepare your adhesive to stick the keys onto the keyboard.
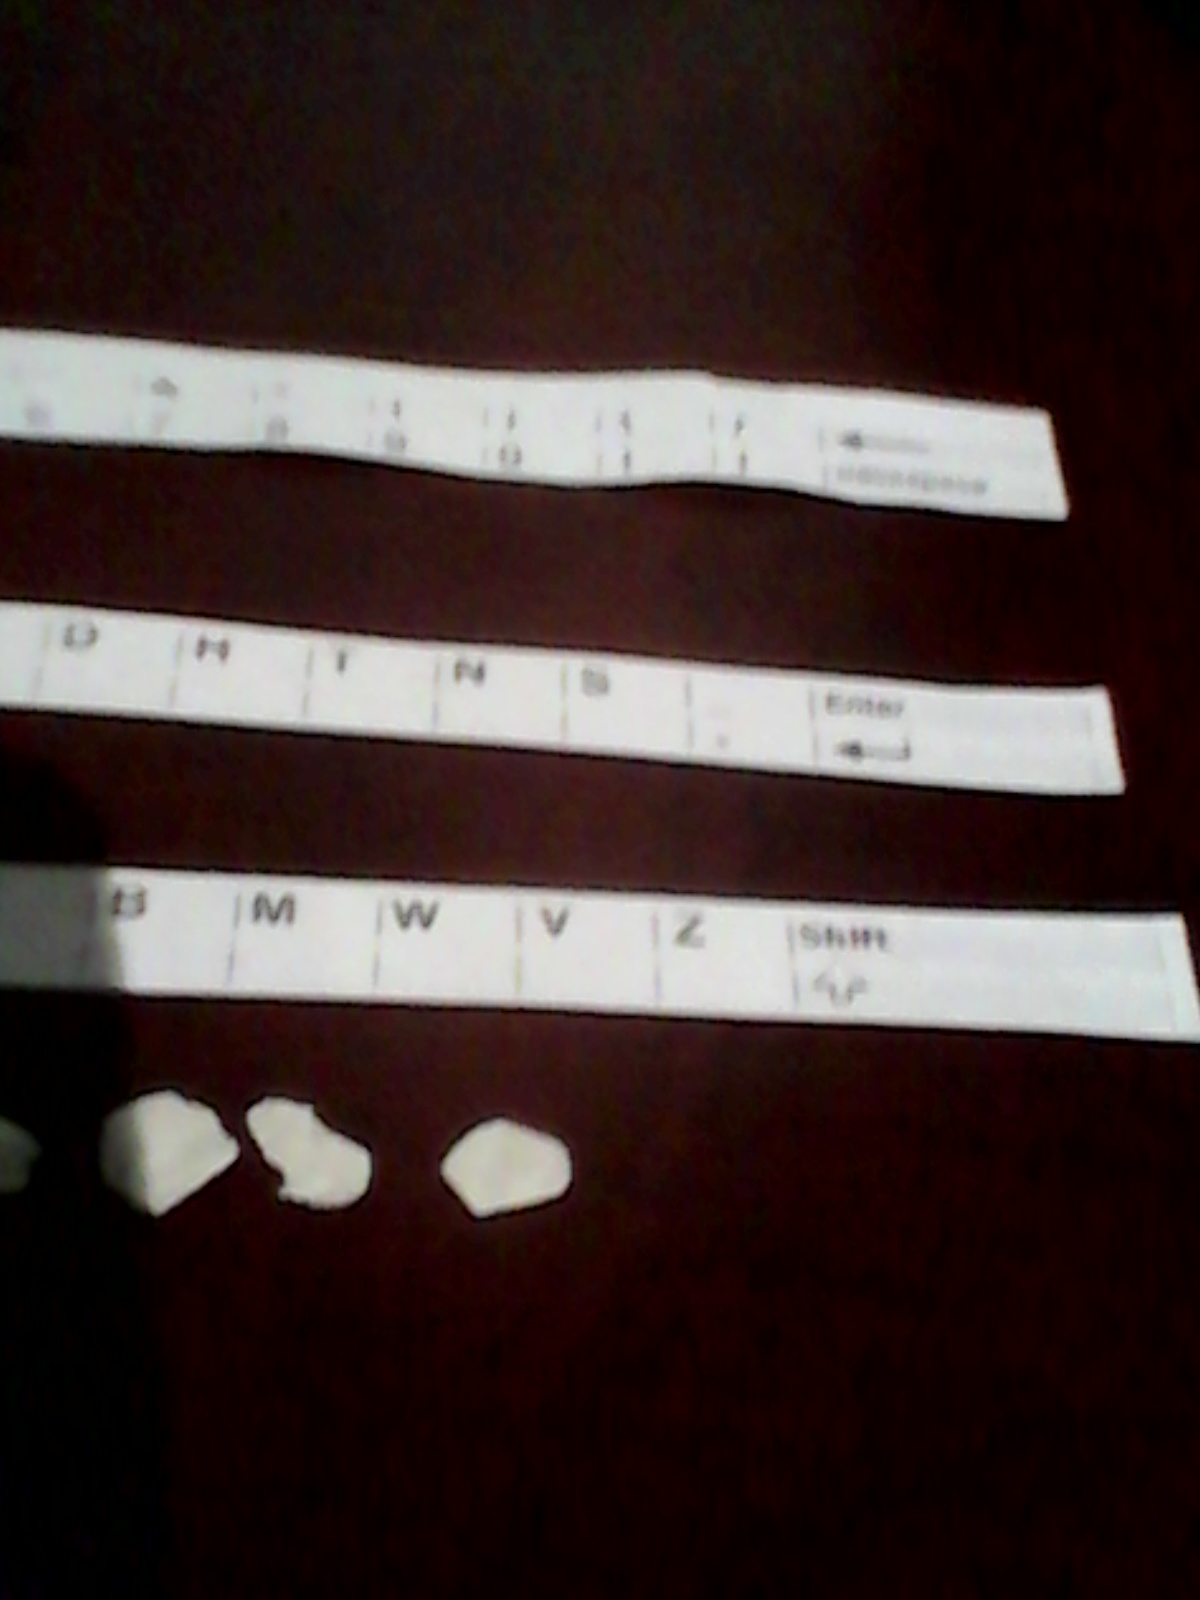
Cut out only one letter at a time. Then place your adhesive at the back of the sticker and then place the sticker onto the keyboard. If you are using an adhesive like Bostik, use the butt of your marker to squeeze down onto the key (applying only some pressure).
Do this for all the necessary keys. Some keys (like TAB, SHIFT, CTRL, ENTER & NUMBERS) won't require stickers.
This process should take roughly 45-60 minutes.
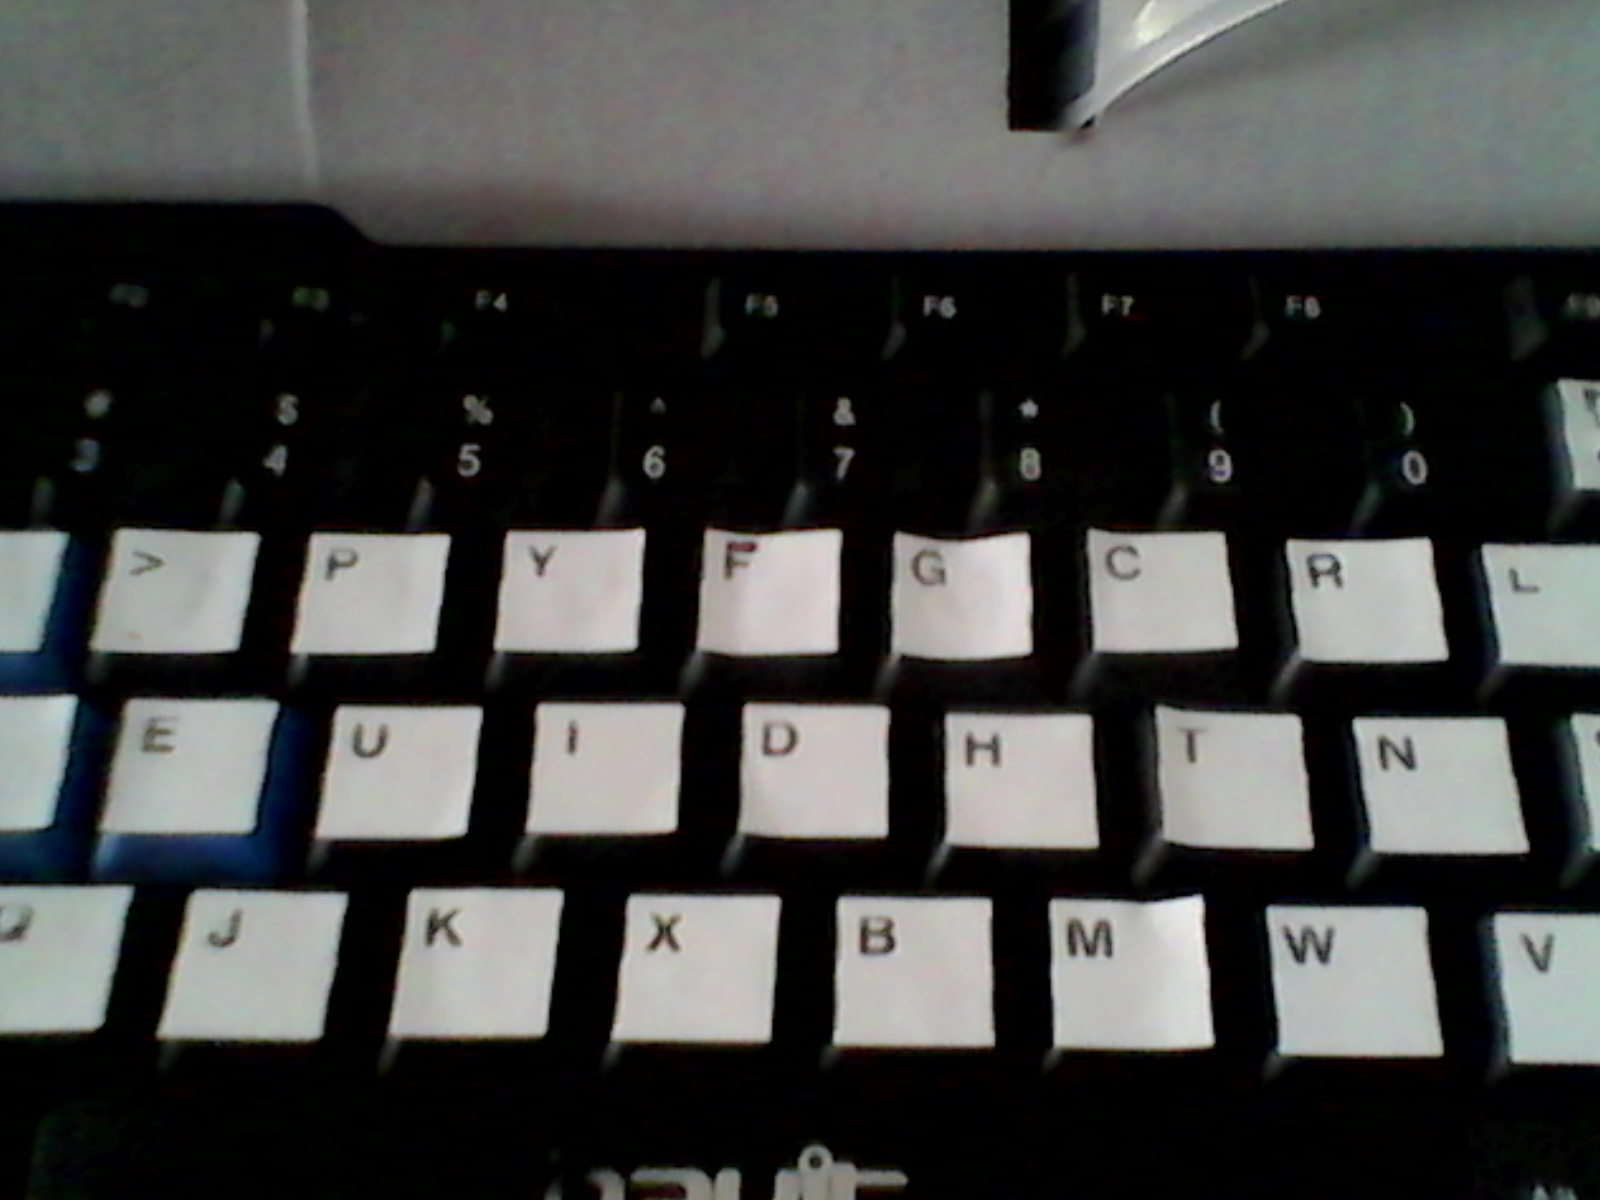
The end result should be:
Conclusion
The longevity of the solution is unknown. Stronger adhesive (like glue) and rounding the edges of each sticker may prevent flapping.
If you don't know how to use RSS and want email updates on my new content, consider Joining my Newsletter
The original content of this blog is a Waqf solely for the Pleasure of Allah. You are hereby granted full permission to copy, download, distribute, publish and share this content without modification under condition that full attribution is given to this author by creating a link either above or below the content that links back to the original source of the content. For any questions or ambiguity, you are requested to contact me via email for clarification.